Painting Using A Projector

How to paint like an artist (even if you're not!)
When brainstorming the makeover for this set of mix-matched bedsides, I really wanted to create a scene which would detract from the fact they're not identical! My natural style is quite earthy & bohemian so I really wanted to drawer from that. And that is where I came up with the idea of a white lion! However I couldn't find a transfer that matched my plan, nor a poster I loved and would wait weeks for. Now, for some, hand painting the lion would have been option number 1, however I can't paint like that! Like, not even a little bit!
Now, I have seen artists use projectors in creating wall murals so that got me thinking.. could I use a projected image to help me paint in greater detail? And the answer is YES!
This certainly does not mean I ran off to steal someone else's artwork to copy onto my furniture! Nooooo sir-ee! Instead, I went to Canva to source a free lion image (with no copyright issues!) Unfortunately I could not find exactly what I envisioned, but I was able to find 2 lion graphics I liked and so edited them into 1 lion I LOVED!


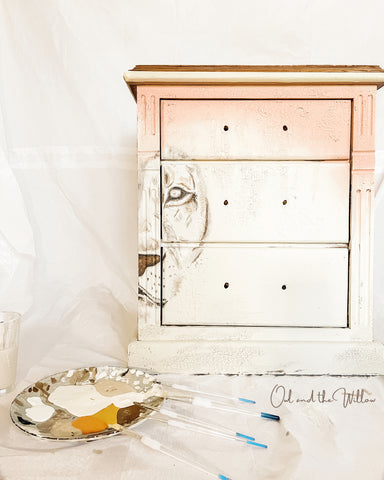
Now for the fun part... projecting the image onto my furniture! The projector I used is an old Epson one I bought about 5 years ago (but any will do!) The projected image I used as a guide more than anything. I identified the eye, nose and mouth as the prominent features so started painting there.
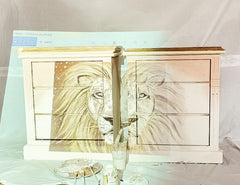
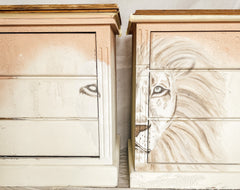
The edited canva graphic is more of a sketched "style" however I wanted a soft, almost water-coloured painted lion so I kept the surface wet and blended all the colours into one another. I also dipped my brush into the water constantly to keep my strokes really soft & almost whimsical. And because I chose a white lion, the colour palette were similar in shades and allowed for easy blending... particularly for this beginner!

I found the projected image so helpful in making sure each of the lion's features were painted the correct distance apart! Once the main parts of the lion were painted I then spent most the time blocking the projected image and letting my own creative juices flow!
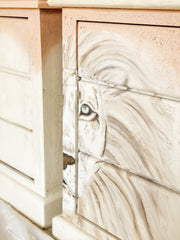
The reason I edited the 2 lions together is because I loooved this flowy mane! It has little actual detail but all the different browns and beiges blended together is so effective. For the colours in the mane I used Dixie Belle chalk mineral paint colours Burlap, Chocolate, Buttercream & Sawmill Gravy. And because more is more, I also added strands of diamantes to the mane!

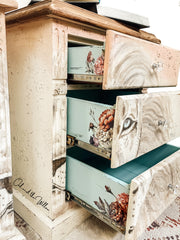
For the inside of the drawers I turned to my Instagram community (join me here) for colour suggestions! Light blue was suggested so many times so I went with the colour Tide Pool from the Silk All-In-One Mineral range. The lion's eyes are light blue so it compliments the scene wonderfully yet provides a beautiful pop of colour.

To add some interest to the sides of the drawers I added Floral Romance transfers. I then lightly distressed both pieces and sealed them with my go-to top coat Satin Clear Coat. This is what the bedsides looked like initially!

And now, the GRAND REVEAL!


Don't forget to follow me and my painting adventures!
Find me on FaceBook, Instagram, Pinterest, YouTube & TikTok!
** This blog post may contain affiliate links where I could receive a small commission, at no extra cost to you. Thank you so much for your support!
